Personalizing the Original Off-Road Clipless Pedal
When it comes to mountain biking, a solid connection between you and your bike is crucial for a fun, efficient, and confident ride. Whether you're a cross-country mountain biker sprinting up the most challenging climbs, an Enduro racer hitting corners at incredible speeds, or you're just out for a good time, spinning along some silky singletrack at your local trail system, dialing in the spring tension on your Shimano SPD pedals will enhance the ride.
Like most gear settings in cycling, the right spring tension for off-road SPD pedals comes down to personal preference. Riders who like high-power efforts or climb steep and rugged terrain will likely want a more secure connection to their bike and higher spring tension than a more casual rider.

Fortunately, each Shimano SPD pedal has an adjustable spring tension to fine-tune the perfect level of connectedness for gravel, trails, racing, or just riding along. Here are a few considerations to better understand the SPD pedal setup.
Why Opt for More Spring Tension?
A higher pedal spring tension will provide the most secure connection between your cleat and the SPD pedal. This ensures maximum power transfer and a "locked-in" feel for aggressive and explosive riding.

Keep in mind that a higher spring tension will require better ankle mobility and strength to turn the foot and disengage from the pedal. More experienced riders with lots of practice getting in and out of clipless pedals will often opt for this firmer spring tension.
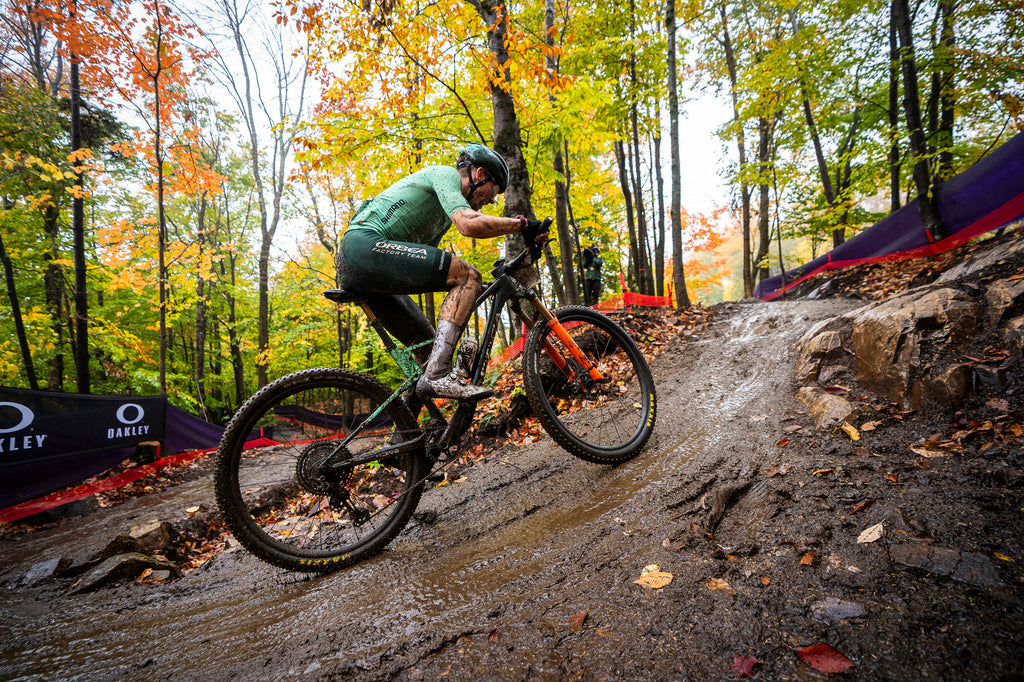
Ultimately, you’ll most likely find the higher spring tensions at the pointy end of gravel races and mountain bike World Cups, where the pros and racers prize absolute connectivity and efficiency above all else.
Why Opt for Less Spring Tension?
A lower SPD spring tension still provides a connected feel between rider and bike but allows for easier disengagement with less effort. These settings are perfect for those new to clipless technology or who are gaining confidence with clipping in and unclipping.
The reduced effort to clip out means riders with less strength or mobility in their ankles will also appreciate a lighter setting. Ultimately, this lower SPD spring tension is well suited for steady pedalers and casual riders whose pedaling dynamics remain fairly consistent without great bursts of power.
How to Adjust Spring Tension on SPD Pedals
All Shimano SPD pedals come with tension adjustment screws. On double-sided pedals, like the XTR PD-M9100, each side will have an adjustment screw for the given side. On single-sided pedals with a clipless top and platform bottom, like the PD-T8000, a single screw will adjust the sole SPD mechanism.
Pedals come with a stock setting in the middle of the range (pedal dependent) and can be adjusted up or down. Each tension setting has a tactile and audible click as the adjustment screw turns. To increase spring tension, turn the adjustment screw to the right (righty tighty). To decrease spring tension, turn the adjustment screw to the left (lefty loosey). It can be helpful to adjust all screws the same amount at the same time.
 Go for a test ride on an easy trail, a quiet road, or the trainer to see if the spring tension suits your needs. It's a good idea to bring an Allen wrench along to fiddle with the tension as you see fit. No need to ride back and forth to the garage each time to make an adjustment.
Because each pedal is individually adjustable, settings can be asymmetric. While most riders prefer an even tension from side to side, some cyclists may benefit from asymmetric settings. For instance, a rider who has injured one leg or ankle might need a looser setting on that side to enhance their comfort and ride experience.
Once you've found your favorite setting, record that number so you can remember it for future reference. To figure this out, start at your preferred setting and then count how many clicks it takes to turn the screw all the way to the left - to the loosest setting. Note the number of clicks it took - write it down somewhere - and then turn the screw back the same number of clicks so you land on the setting you started with. Then, get out and enjoy the ride!


